Check In and Check Out From the Web Browser
When attendance from the web browser is allowed, the employees may check in and check out from the dashboard using the web browser. You will need to allow the browser to track your location and ensure that the outlet has been created.
If you are an Admin or Manager with Attendance privilege, you can create an outlet. Below is the user guide for your reference:
If you are a Staff, you can get in touch with your Reporting Manager for the outlet status.
Log in with your username and password here.
The reporting manager or HR will give the login details.
Should you have trouble logging in or you forgot the password, click here to reset your password.
If you are still having issues, please get in touch with the Reporting Manager.

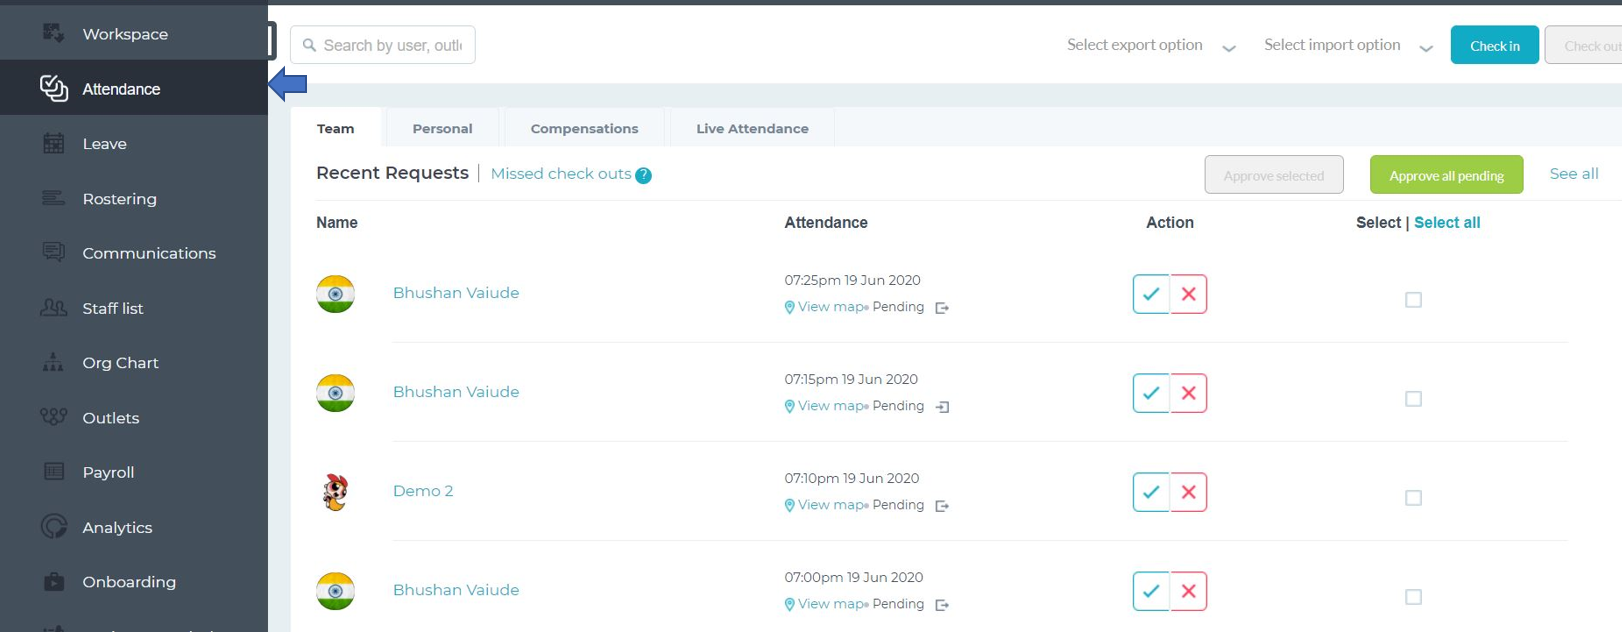
On the left side menu, click Attendance.
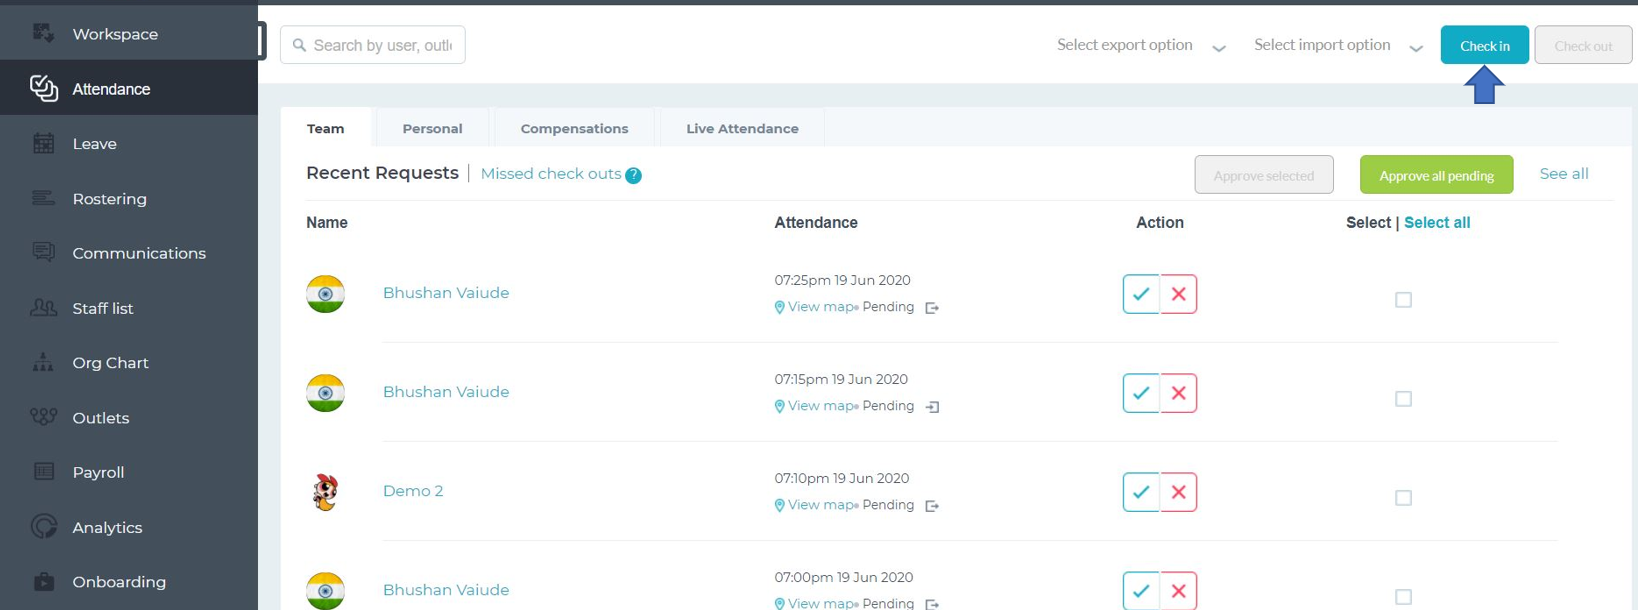
To check-in, click on the check-in button located at the top right corner of the page.
When a pop-up appears to allow the browser to track your location, click on the Allow button.
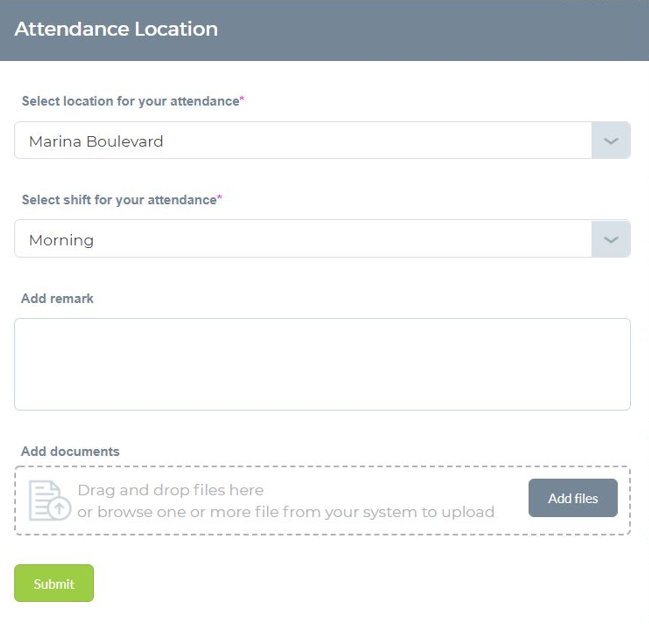
The Attendance Location option will be available if you are allowed to work from multiple outlets.
Select the location for the attendance you wish to check in. You can choose from the dropdown list.
If you cannot find the location, kindly check with your Reporting Manager.
Select the respective shift for the attendance.
For the “Add remark” box, you can input the task for the day and any other essential details for attendance.
You can also attach files or documents by clicking on the Add files. You may also drag and drop the files.
Then, you may now click the Submit button.
Related User Guides